Snipping tool download and install
To download and install the Snipping Tool on Windows, search for “Snipping Tool” in the Start menu search bar, then select “Snipping Tool” from the search results. Click “Install” or “Download” to download the tool from the Microsoft Store. Follow the on-screen instructions to complete the installation.
- To download Free Snipping Tool open our download page.Download Page
- After download page is opened click Download button to start downloading Free Snipping Tool.

- Snipping Tool download
- This will start downloading the snipping tool installer file.
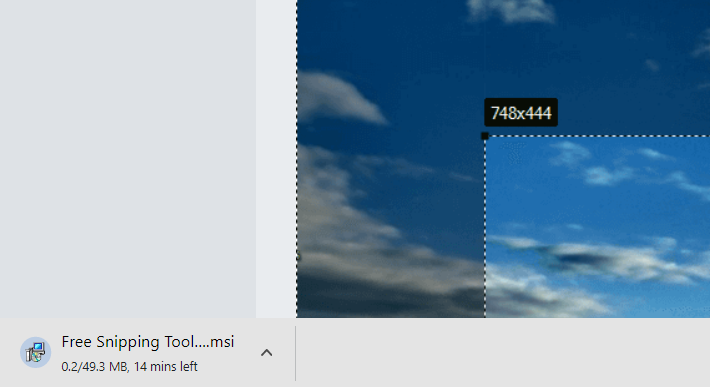
- Snipping Tool installer
- After downloading is complete, click that file to start installing Snipping Tool.
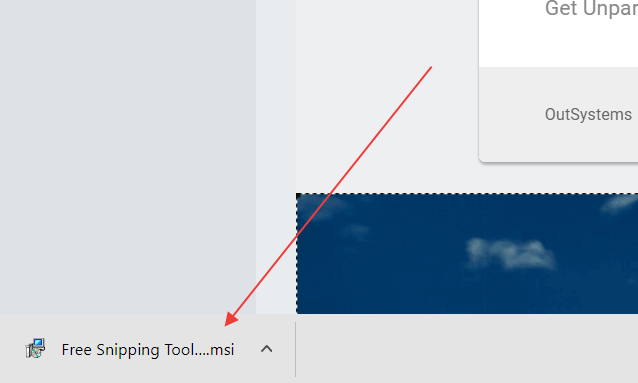
- Follow these steps shown in screenshots to install Snipping Tool.

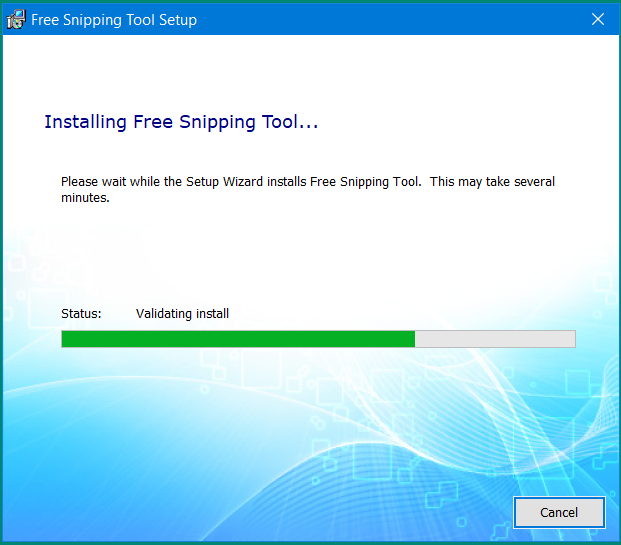
- Wait for this to finish, Snipping Tool will start automatically in notification area as seen below:
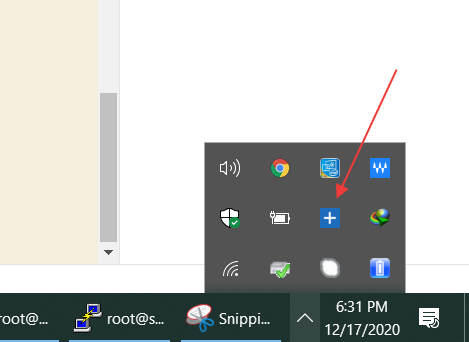
- If you can't find it in notification area, you can find it in windows search.
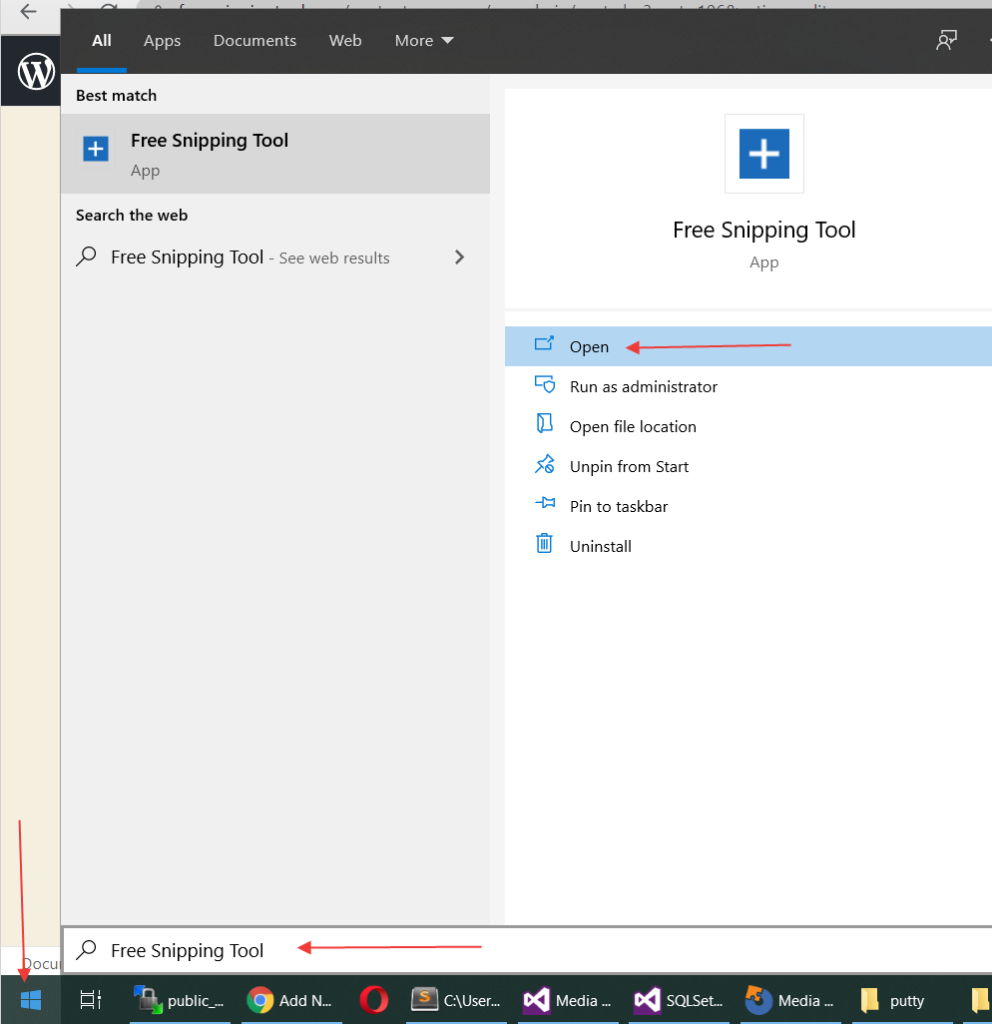
- Or you can hit PrtScr key on your keyboard to start snipping.
Related Posts
- Documentation
- Snipping tool download and install
- Create screenshots with snipping tool
- Add Watermarks on Snips
- Read text from images with Snip to OCR
- How to activate Snipping Tool Pro Features
- How to take custom size snips or fullscreen screenshots
- Log Errors in Snipping Tool
- Windows 11 Snipping Tool
- Fullpage Screen Capture
- Chrome Browser Integration
- Microsoft Edge Integration
- Android App - Screen Recorder with Audio
- Mozilla Firefox Browser Integration
- Opera Browser Integration
- Keyboard Shortcuts
- Keyboard Shortcuts
- Start Snipping Tool from within Browsers
- Change default installation path
- Create Photo Collage
- Create Desktop Shortcuts