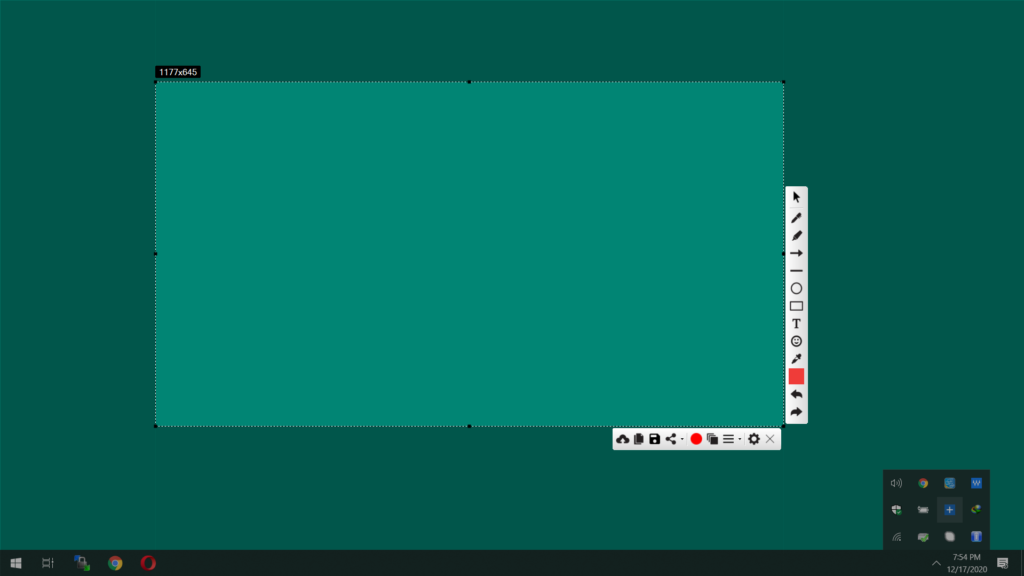
Create screenshots with snipping tool
Creating screenshots with the Snipping Tool is a straightforward process. Open the Snipping Tool application from the Start menu or by searching for it. Once open, click on “New” to start a new snip. Select the type of snip you want (such as rectangular, free-form, window, or full-screen), and then use your mouse to select the area you want to capture. After capturing the snip, you can annotate it with the pen or highlighter tools if desired. Finally, save the snip to your desired location. The Snipping Tool provides a quick and easy way to capture screenshots with basic editing capabilities.
If you have already installed Free Snipping Tool, you can start creating screenshots with following:
- Hit PrtScr on your keyboard.
- Or double clicking Free Snipping Tool icon on your desktop.

- Or by searching in windows start menu.

- Select the required screenshot region by dragging and/or resizing the snip area and copy it into your clipboard to paste or save it on your computer.

Related Posts
- Documentation
- Snipping tool download and install
- Create screenshots with snipping tool
- Add Watermarks on Snips
- Read text from images with Snip to OCR
- How to activate Snipping Tool Pro Features
- How to take custom size snips or fullscreen screenshots
- Log Errors in Snipping Tool
- Windows 11 Snipping Tool
- Fullpage Screen Capture
- Chrome Browser Integration
- Microsoft Edge Integration
- Android App - Screen Recorder with Audio
- Mozilla Firefox Browser Integration
- Opera Browser Integration
- Keyboard Shortcuts
- Keyboard Shortcuts
- Start Snipping Tool from within Browsers
- Change default installation path
- Create Photo Collage
- Create Desktop Shortcuts