How to take custom size snips or fullscreen screenshots
To take custom-size snips or fullscreen screenshots in Windows, use the Snipping Tool or Snip & Sketch. Press Windows + Shift + S to open the snipping bar. For a custom-size snip, select the Rectangular Snip option and drag the cursor to capture the desired area, or choose Freeform Snip to draw any shape. To capture the entire screen, select the Fullscreen Snip option. After capturing, the screenshot is saved to the clipboard, and a notification allows you to annotate, save, or share the snip. This method provides a flexible and efficient way to capture exactly what you need on your screen.
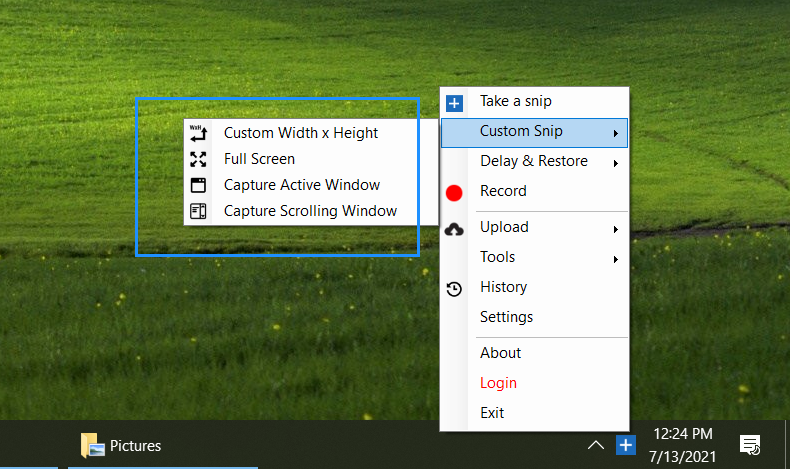
1- Custom Width x Height
When you click the Custom Width x Height option, it will open another window where you can mention the custom Width and Height of the snip or select running processes to take their screenshots/snips.

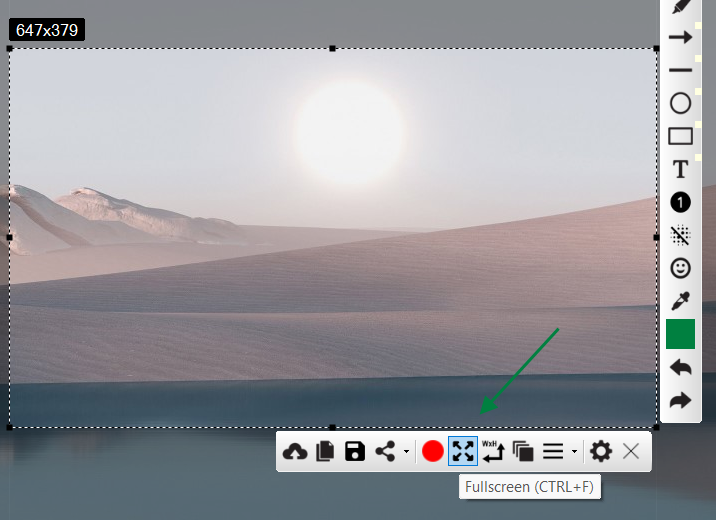
2- Full Screen
When you click the Full-Screen option, it will take a snip of fullscreen as the name already suggests.
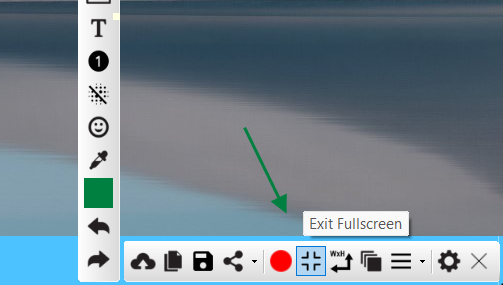
Exit from the Fullscreen view
When you click, Fullscreen, it will now show exit fullscreen button, click that to exit and restore to last snip view.
3- Capture Active Window
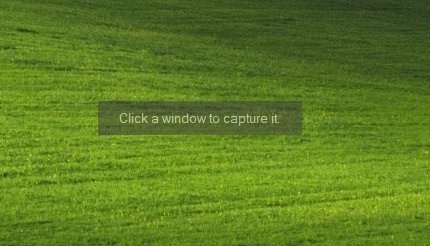
When you click the Capture Active Window option, it will then ask you to click an active window. When you click a window, it will save it’s screenshot and open windows explorer to locate the screenshot for you.
4- Capture Scrolling Window
Capture Scrolling Window is the most advanced feature Free Snipping Tool has to offer to its users. As the name says, you can now capture scrolling areas from anywhere and in any app that is running on your computer.
When you click the Capture Scrolling Window option, it will open another form which looks like below.
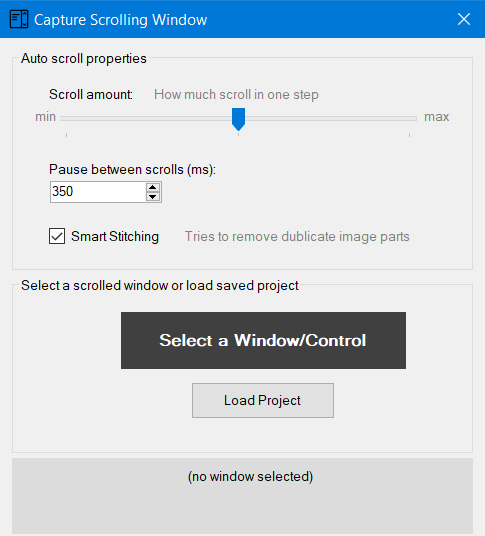
You just need to click Select a Window/Control to start the scrolling capture procedure. As this is an advanced feature, we have discussed it in detail here. Continue reading about Capture Scrolling Window.
Related Posts
- Documentation
- Snipping tool download and install
- Create screenshots with snipping tool
- Add Watermarks on Snips
- Read text from images with Snip to OCR
- How to activate Snipping Tool Pro Features
- How to take custom size snips or fullscreen screenshots
- Log Errors in Snipping Tool
- Windows 11 Snipping Tool
- Fullpage Screen Capture
- Chrome Browser Integration
- Microsoft Edge Integration
- Android App - Screen Recorder with Audio
- Mozilla Firefox Browser Integration
- Opera Browser Integration
- Keyboard Shortcuts
- Keyboard Shortcuts
- Start Snipping Tool from within Browsers
- Change default installation path
- Create Photo Collage
- Create Desktop Shortcuts