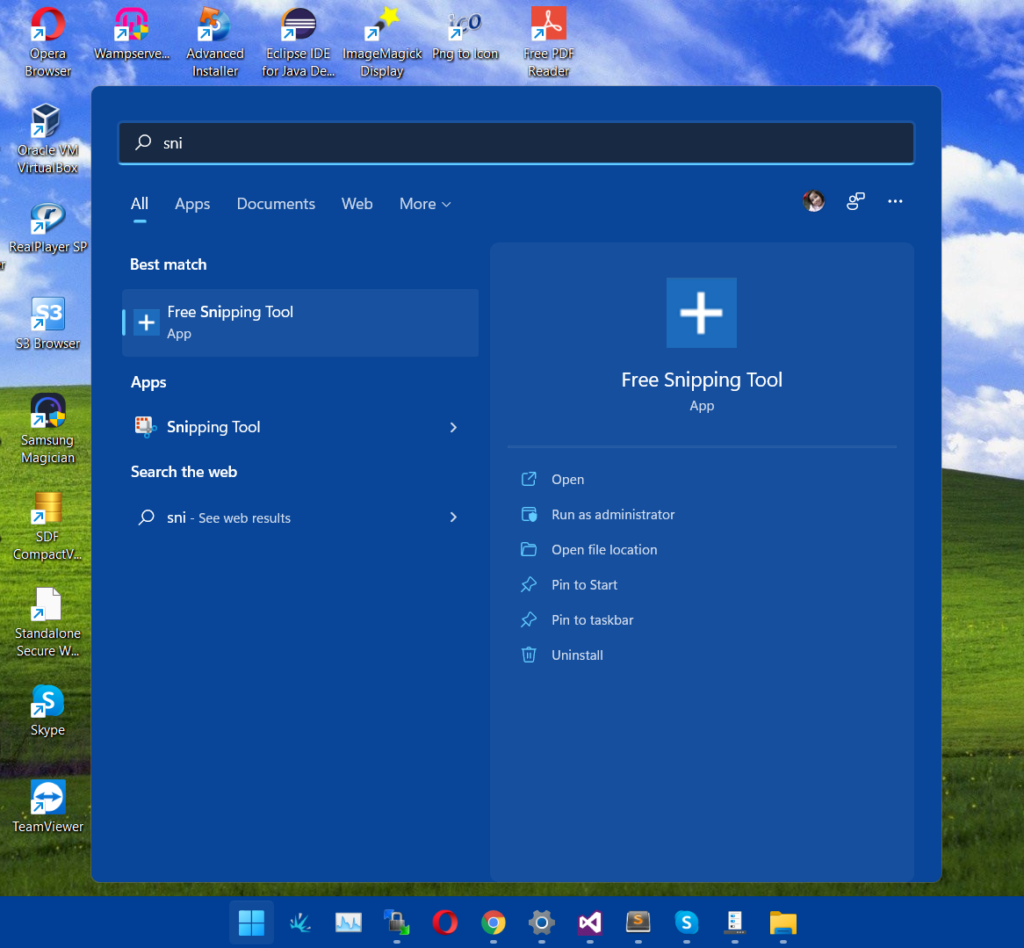
Windows 11 Snipping Tool
The Snipping Tool in Windows 11 combines the functionality of the classic Snipping Tool and Snip & Sketch, offering a versatile tool for capturing screenshots. To open the Snipping Tool, press Windows + Shift + S. This opens a snipping bar with options for the rectangular snip, freeform snip, window snip, and full-screen snip. After capturing a screenshot, it is saved to the clipboard, and a notification allows you to annotate, save, or share the snip. You can also access the Snipping Tool via the Start menu by searching “Snipping Tool.” This updated tool provides a seamless and efficient way to capture and manage screenshots in Windows 11.
After downloading and installing, the setup creates two shortcuts. One on Desktop and one in Start Menu. You can use these shortcuts to start snipping.

Windows 11 Desktop Free Snipping Tool Shortcut

Windows 11 Start Menu Free Snipping Tool Shortcut
Installation Path in Windows 11
The default installation of Free Snipping Tool on Windows 11 is determined when it’s first installed. By default, it is set to be installed in AppData folder if you don’t choose to change it.
C:\Users\\AppData\Roaming\Free Snipping Tool\App\
C:\Users\

Related Posts
- Documentation
- Snipping tool download and install
- Create screenshots with snipping tool
- Add Watermarks on Snips
- Read text from images with Snip to OCR
- How to activate Snipping Tool Pro Features
- How to take custom size snips or fullscreen screenshots
- Log Errors in Snipping Tool
- Windows 11 Snipping Tool
- Fullpage Screen Capture
- Chrome Browser Integration
- Microsoft Edge Integration
- Android App - Screen Recorder with Audio
- Mozilla Firefox Browser Integration
- Opera Browser Integration
- Keyboard Shortcuts
- Keyboard Shortcuts
- Start Snipping Tool from within Browsers
- Change default installation path
- Create Photo Collage
- Create Desktop Shortcuts