Capture Scrolling Window
One of the noteworthy functionalities of the Snipping Tool is its ability to capture scrolling windows, a feature handy for capturing lengthy web pages, documents, or other content that extends beyond the visible screen. With this capability, users can effortlessly capture and save entire web pages or documents in a single image, eliminating the need for multiple screenshots or manual stitching of images. This feature enhances productivity and convenience, allowing users to efficiently capture and reference complete content for documentation, research, or sharing purposes. By seamlessly integrating the capture of scrolling windows into its repertoire of snipping options, the Snipping Tool offers a comprehensive solution for capturing and managing diverse types of screen content with ease and precision.
How to start?
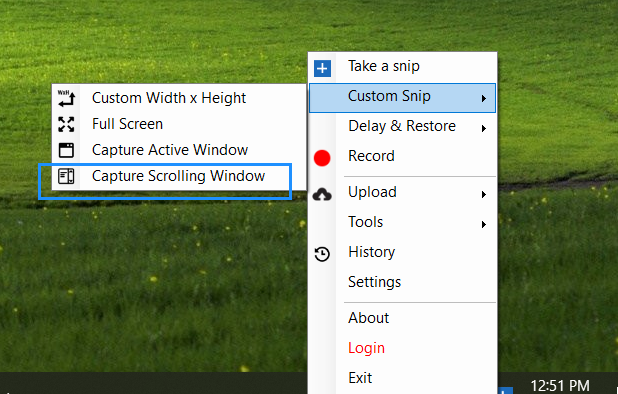
- From Taskbar options:
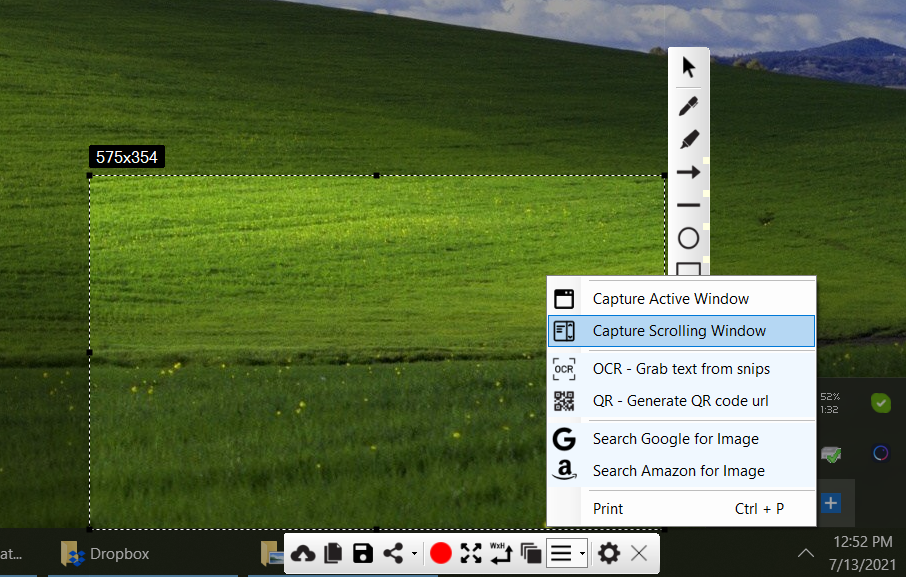
- From Snipping Tool ribbon:
How it works?
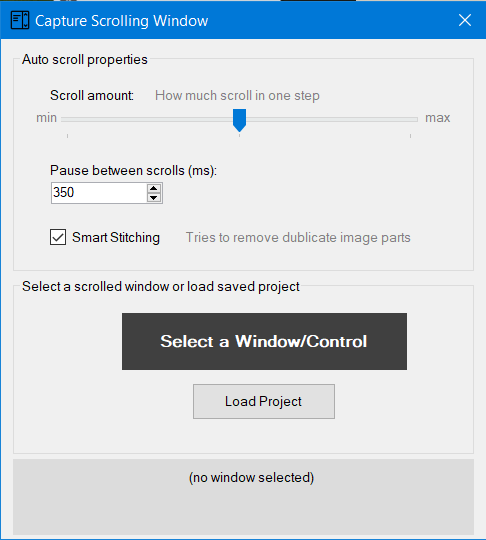
When activating the “Capture Scrolling Window” feature, the tool attempts to automatically scroll through the selected window or designated areas while capturing screenshots. Several options are available to control this automatic process, which we’ll delve into shortly. Initially, upon clicking “Capture Scrolling Window,” a small window similar to this one will appear:
Options:
- Scroll amount: This is the amount of area scrolled in one step.
- Pause between scrolls: Pause time interval in milliseconds It scrolls -> takes a screenshot of the area -> pause for mentioned milliseconds -> repeat.
- Smart stitching: When checked, duplicate parts of different images are removed automatically from the final one scrolled screenshot.
Start Capturing Scrolling Window
- When you click on the "Select a Window/Control" button, a screenshot of the window will appear. You can then choose the portion you wish to automatically scroll and capture in screenshots.
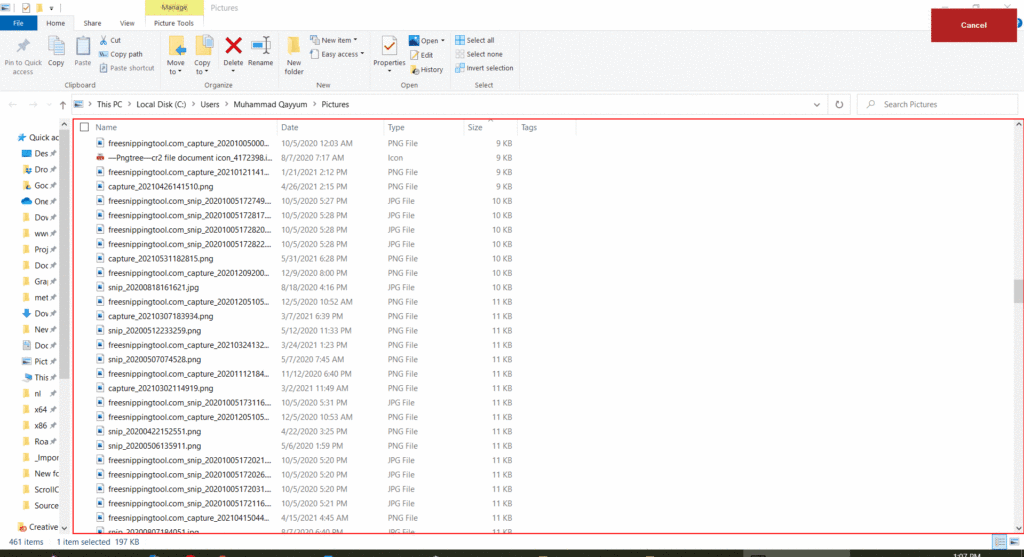
- Click in the center to the desired area and then click Start Capturing button.
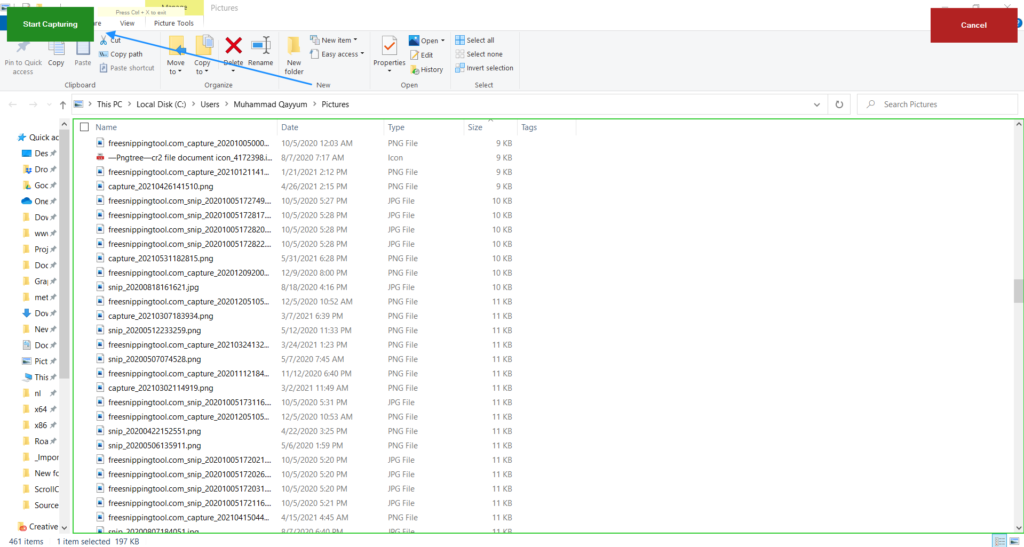
- Before clicking the "Start Capturing" button, you can select a custom area by right-clicking and dragging the mouse to record.
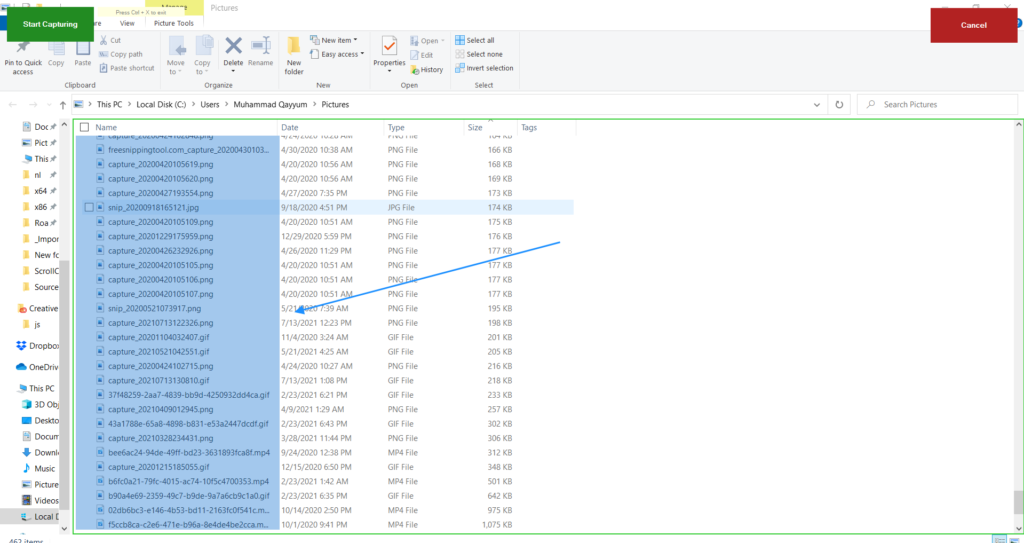
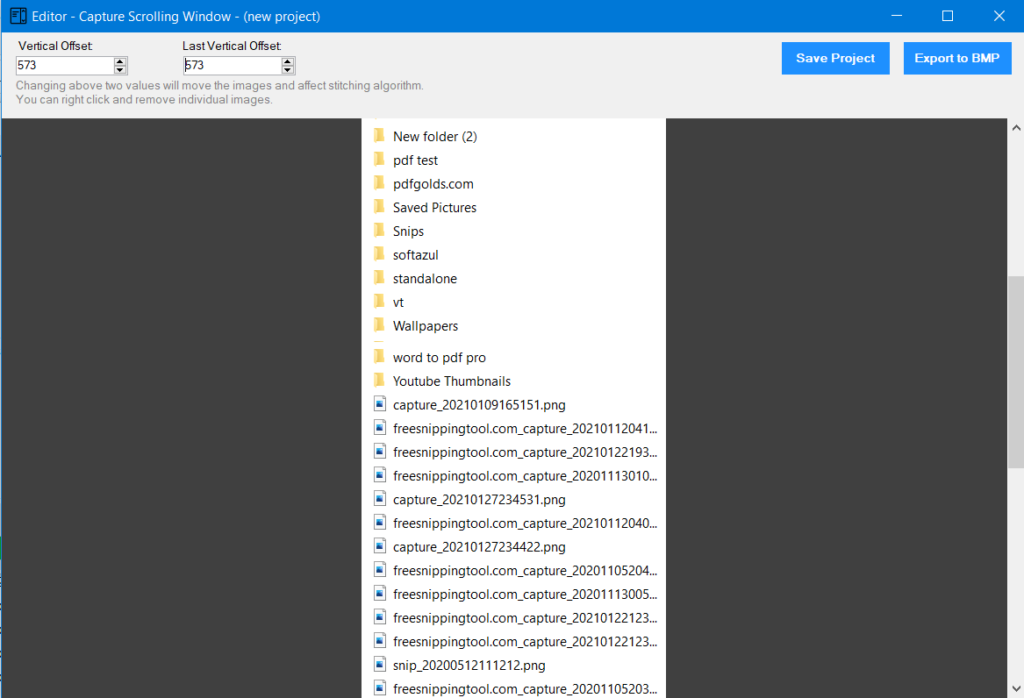
- To initiate the process, click on the "Start Capturing" button. This action triggers the auto-scroll feature within the chosen window's designated region, automatically capturing screenshots. For optimal functionality, refrain from using your mouse during this process. A new window will appear upon completion, presenting the scrolled screenshots for editing. Within this window, you can save the collection as a project or as individual images.
